A Relaxing Guest Retreat With Our Faux Grasscloth Wallpaper
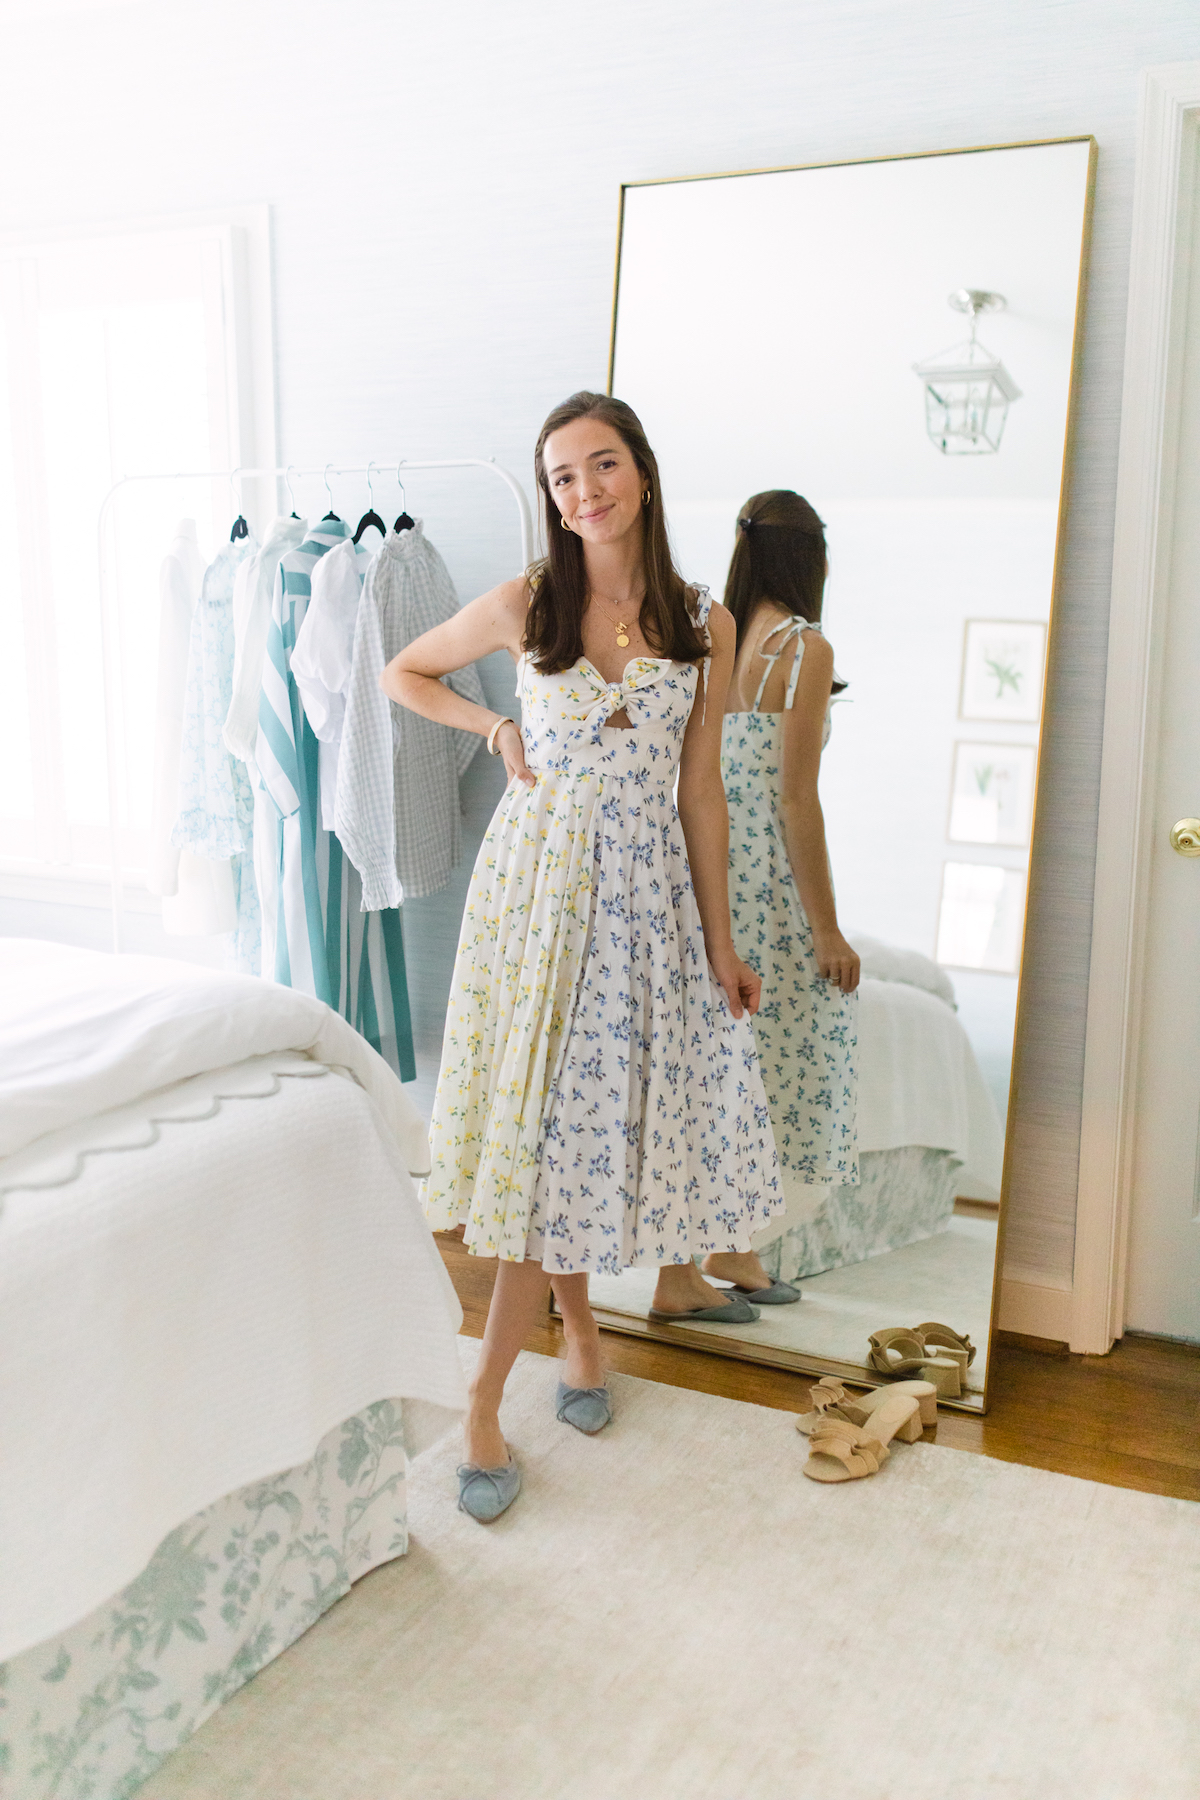
“This peel and stick wallpaper is everything our room had been missing- color, texture, depth, and that 'completed' feeling. It was very easy to install, and I truly loved watching the transformation take place roll by roll.” - Caroline
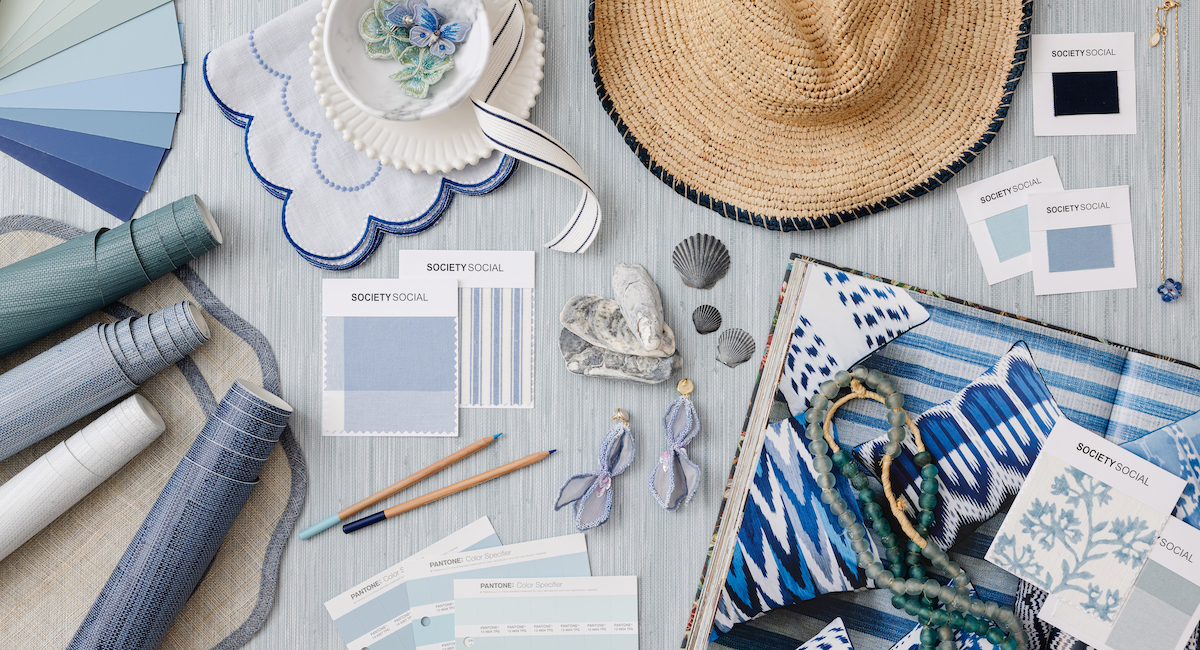
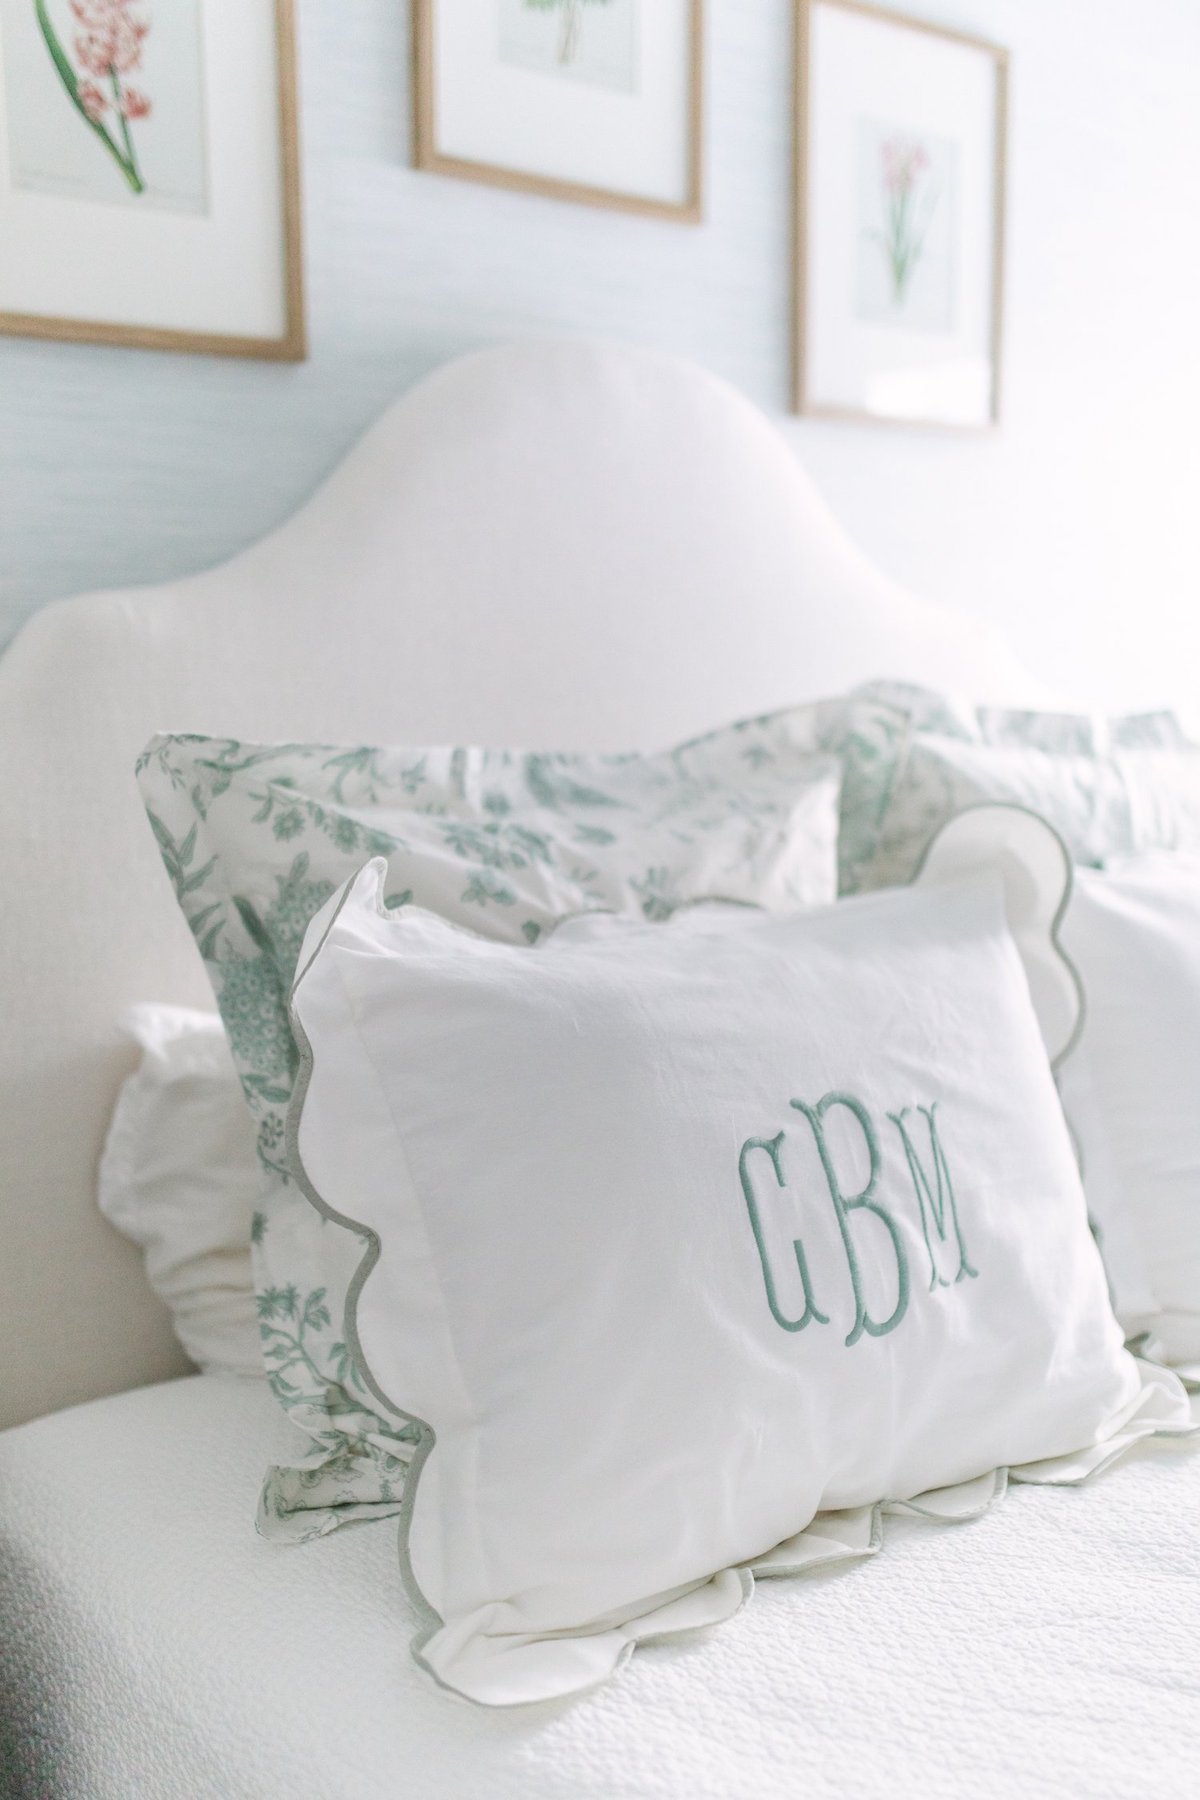
"Peel and stick wallpaper is a little bit like applying an iPhone screen protector… where you have to be sure to not trap air/ create bubbles between the paper and the wall. A smoothing tool was my best friend while installing."
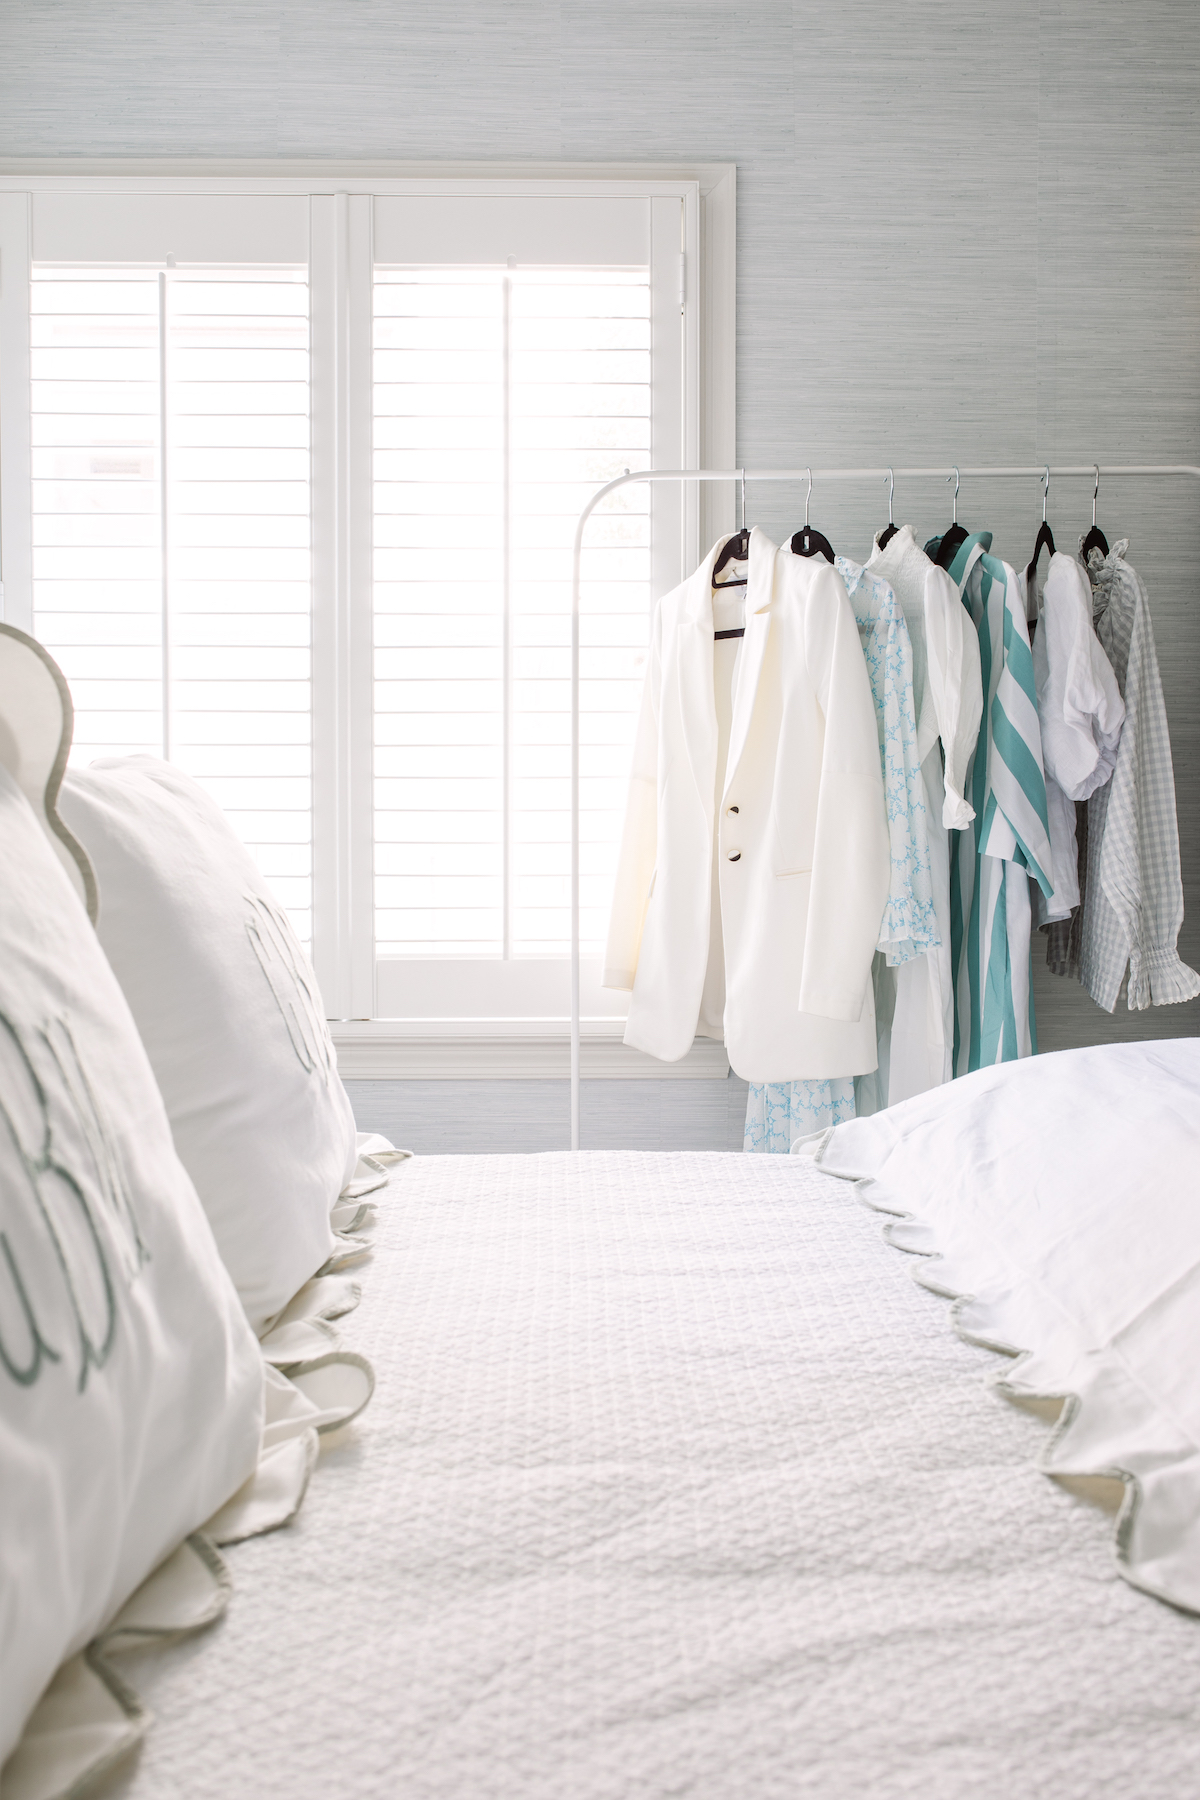
"Once I made it to the bottom of the wall, I used an Xacto Knife to cut right at the edge of the moulding. One of the most important steps to me would be to make sure when you start the next line of wallpaper to overlap about an inch with the previous one- to be sure there are no gaps at all between each column of wallpaper. I found that little trick to save me a lot of time / patience."

"I have always been curious about peel and stick wallpapers and had been a little hesitant to dive in. It is safe to say I am in love with the outcome, the process couldn’t have been easier, and now I am just trying to decide which room in our house to wallpaper next!"
Thank you, Caroline, for including us in your space! We can't wait to see which room you choose to wallpaper next!
All the Comforts of Home
See how Caroline Bramlett of LCB Style transforms her guest room into a relaxing retreat with the help of our Faux Grasscloth Peel & Stick Wallpaper in a customer-favorite colorway, whisper blue! Follow along for her tips and tricks as she walks us through the installation process!
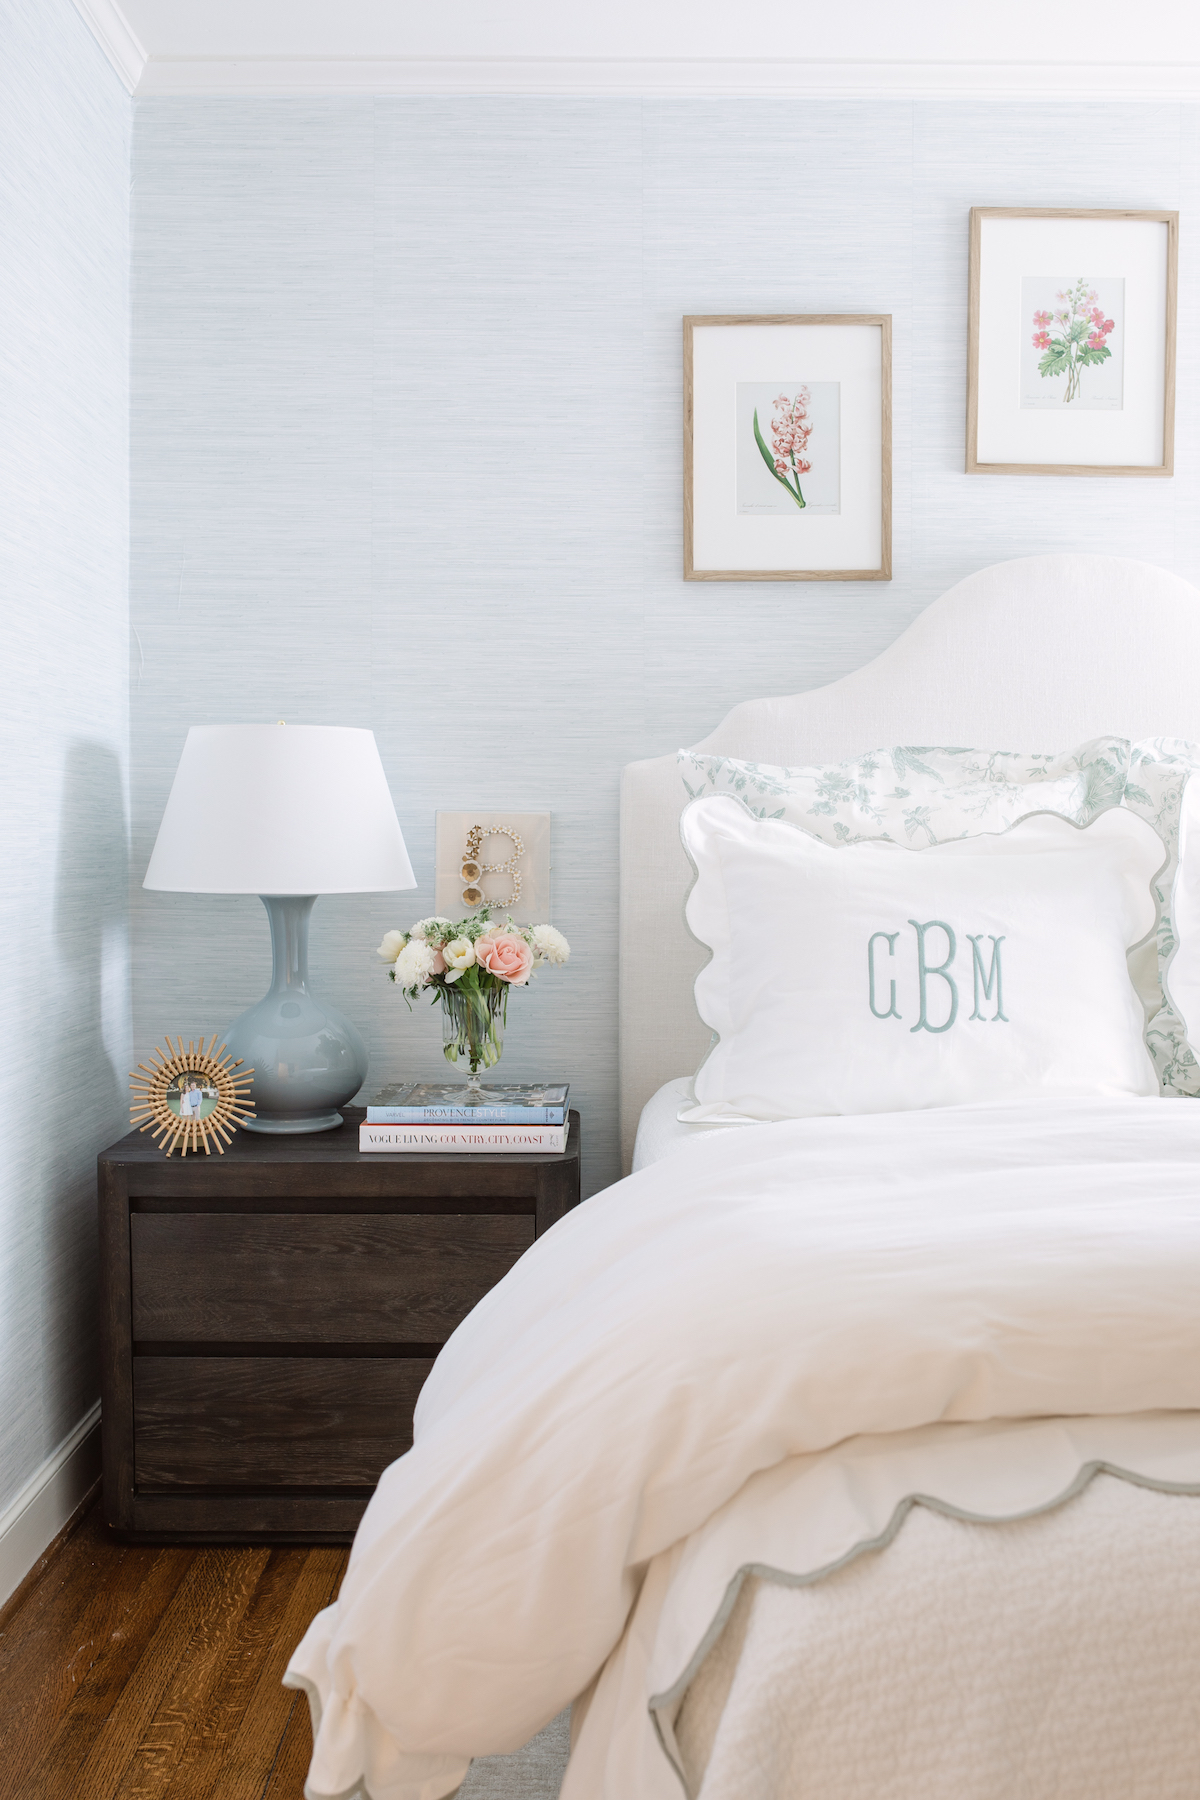
"Welcome to our guest room makeover! I have had the best time working on a few DIY projects to bring this room to life. The design element that absolutely had the biggest impact on the space is the Peel and Stick Faux Grasscloth Wallpaper from Society Social- which I am now obsessed with! See my reel of the makeover on IG here."
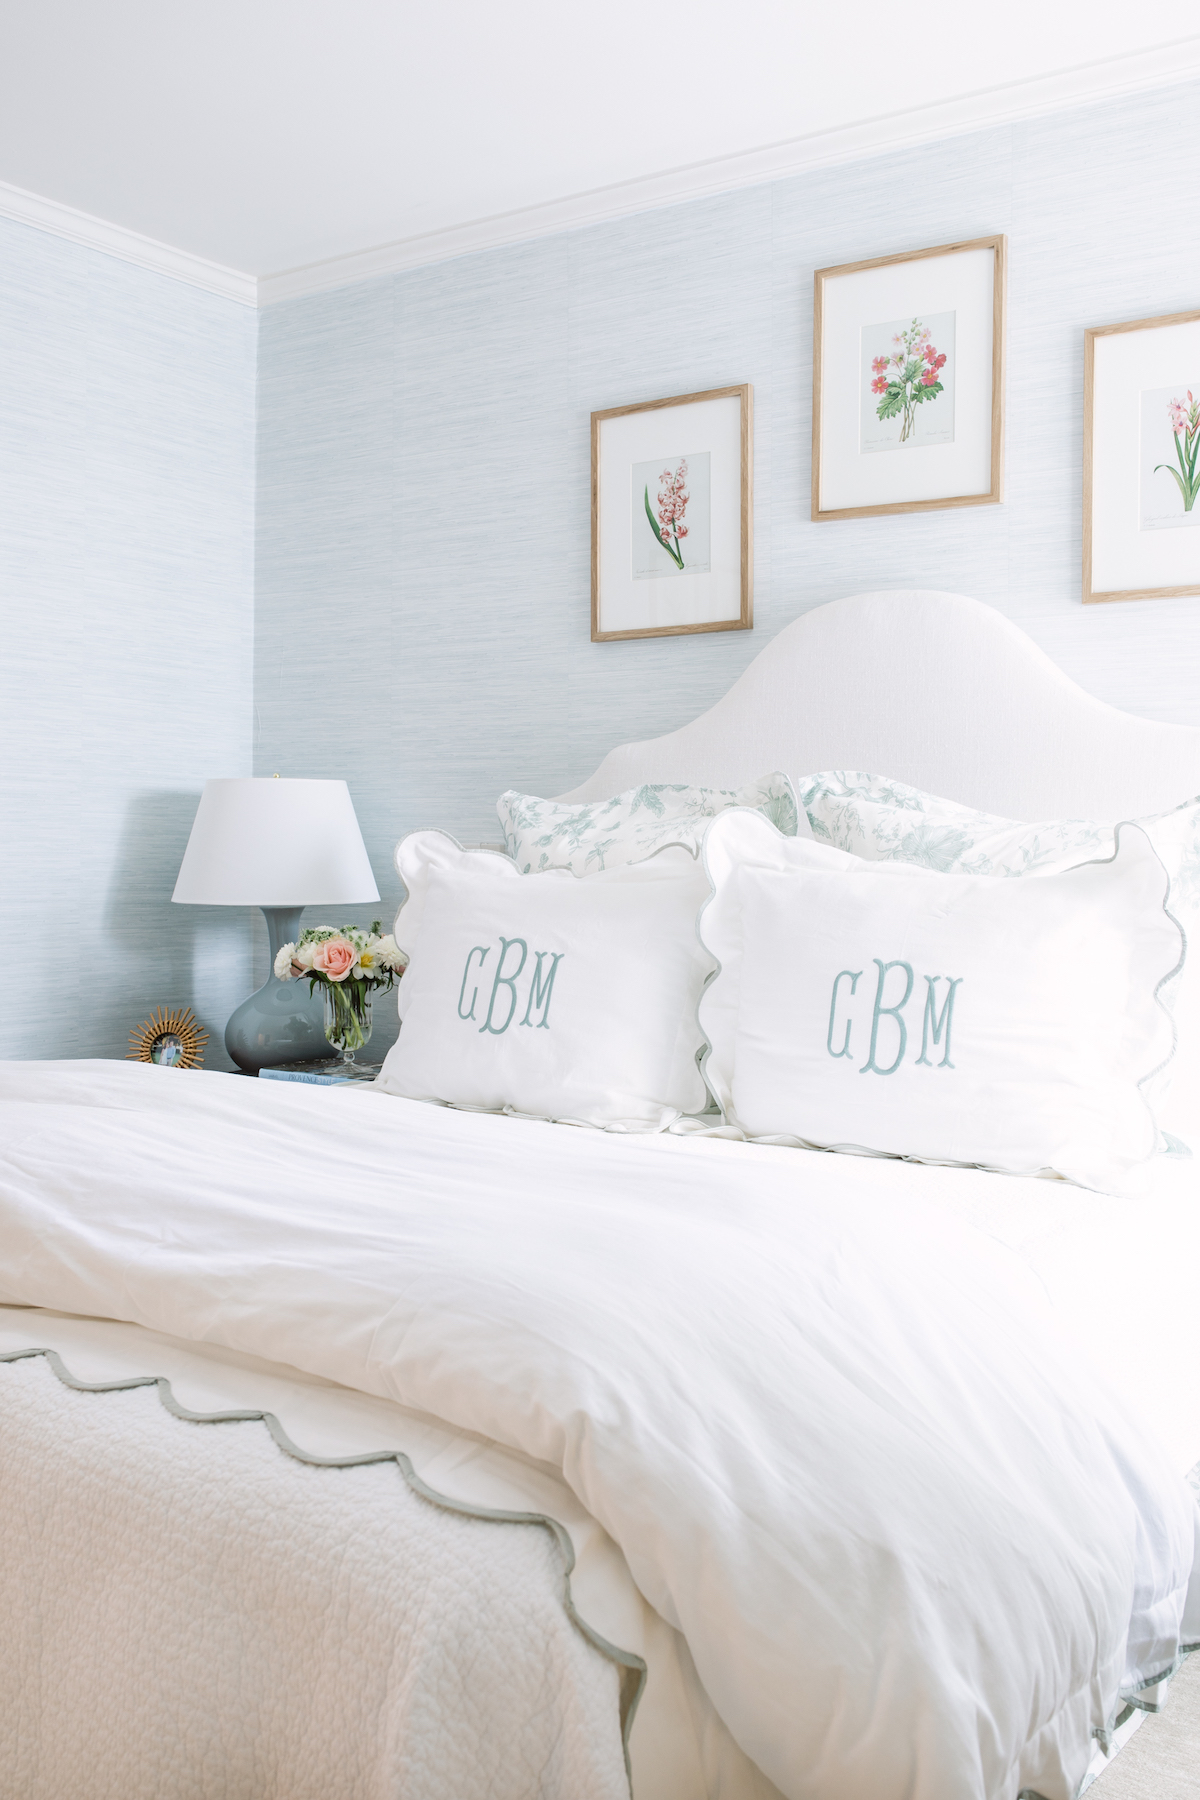
"The wallpaper process began by measuring our walls and using the calculator on Society Social’s website to estimate how many rolls we needed to complete the room."
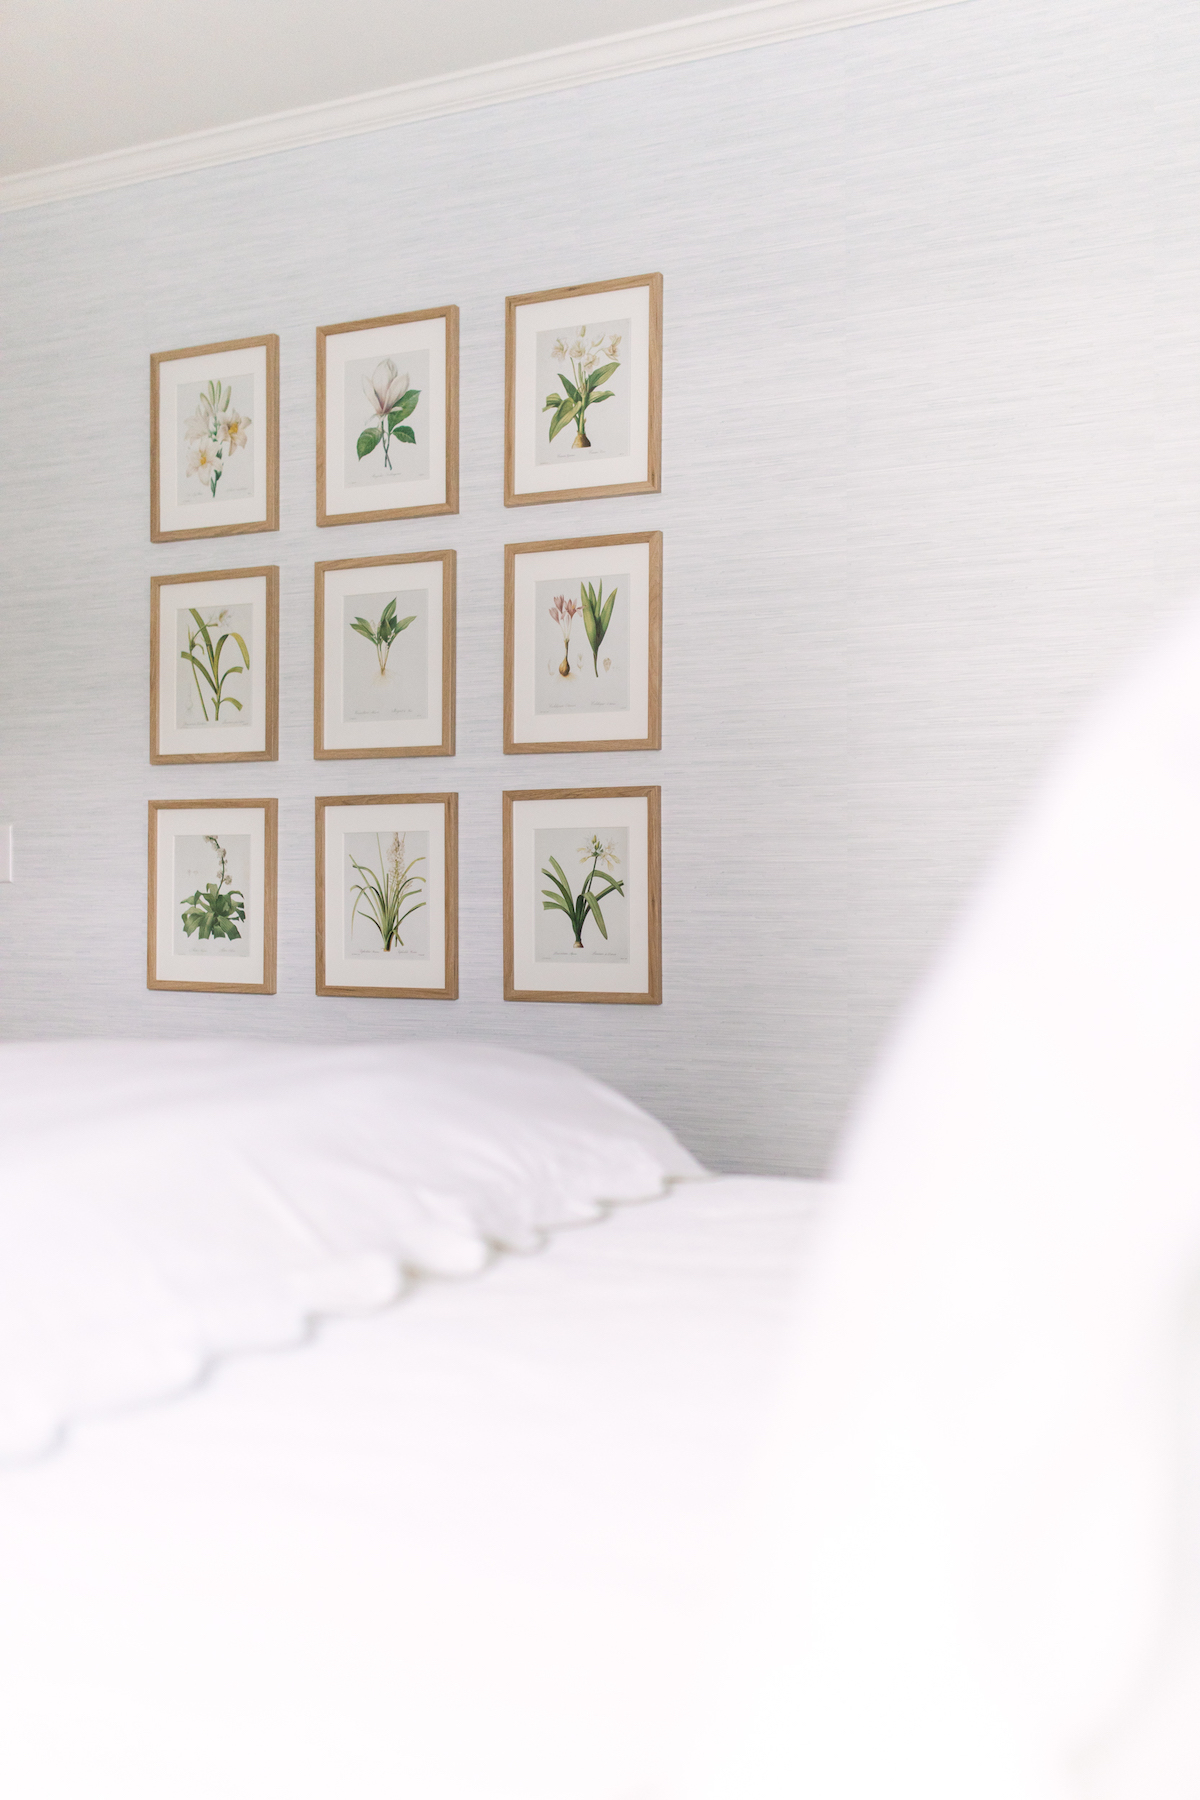
"To apply the paper to the walls, I stood on a step stool where I could comfortably reach the top of the wall where the wall and moulding meet. I would unravel a roll of wallpaper and peel back the sticky part about 3-4 inches. Then I would apply the sticky side of the wallpaper to the top of the wall right where the moulding and wall meet. I peeled back the paper backing and pressed the wallpaper against the wall a few inches at a time and then would smooth over it with the blue smoothing tool to make sure all air bubbles were out. I would not advise peeling off the backing all at once- be sure to do it little by little to avoid air bubbles."
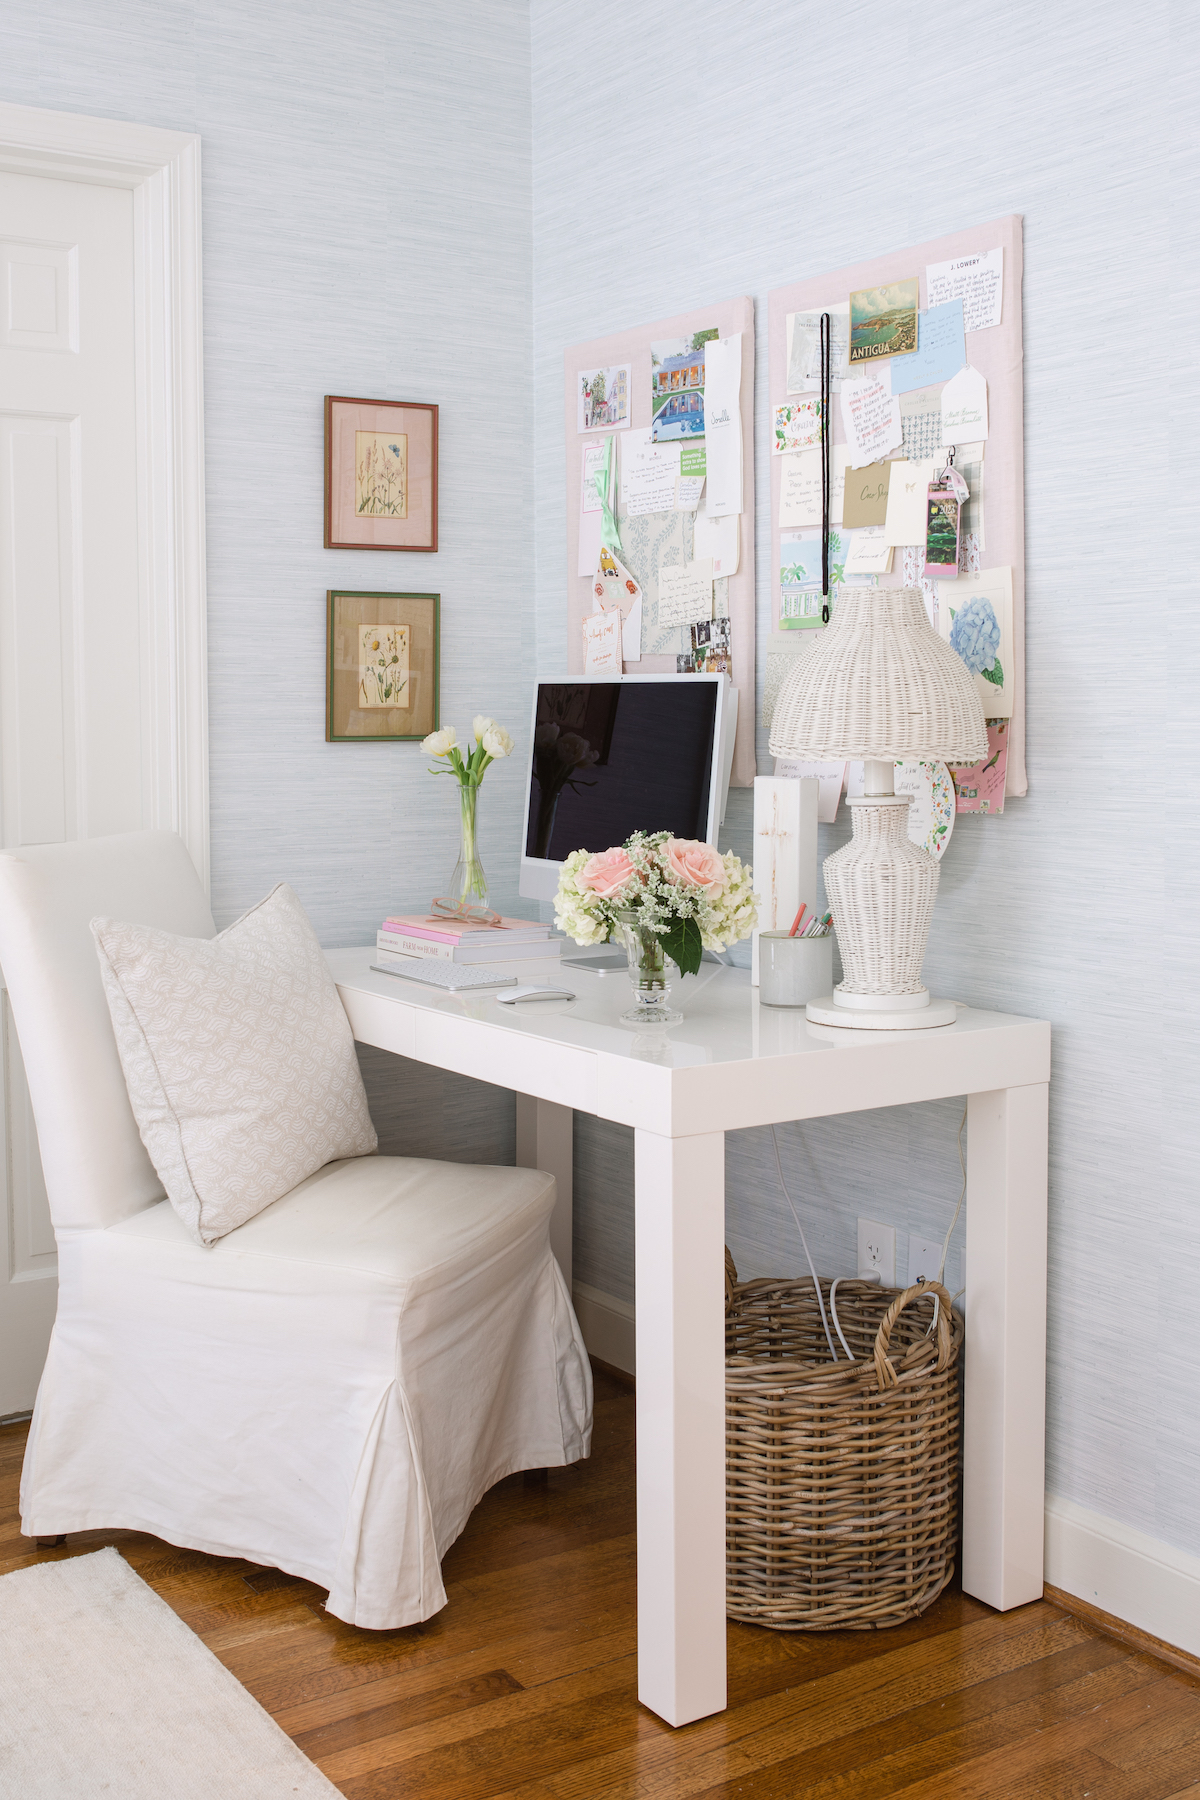
"The project was truly so easy and doable for just about anyone! The entire wallpaper process took me about 3 afternoons (3ish hours each) to complete. We probably could have done it all in one day if we spent a weekend on it but I took it slow and steady!"


All the Comforts of Home
See how Caroline Bramlett of LCB Style transforms her guest room into a relaxing retreat with the help of our Faux Grasscloth Peel & Stick Wallpaper in a customer-favorite colorway, whisper blue! Follow along for her tips and tricks as she walks us through the installation process!

“This peel and stick wallpaper is everything our room had been missing- color, texture, depth, and that 'completed' feeling. It was very easy to install, and I truly loved watching the transformation take place roll by roll.” - Caroline

"Welcome to our guest room makeover! I have had the best time working on a few DIY projects to bring this room to life. The design element that absolutely had the biggest impact on the space is the Peel and Stick Faux Grasscloth Wallpaper from Society Social- which I am now obsessed with! See my reel of the makeover on IG here."

"The wallpaper process began by measuring our walls and using the calculator on Society Social’s website to estimate how many rolls we needed to complete the room."

"Peel and stick wallpaper is a little bit like applying an iPhone screen protector… where you have to be sure to not trap air/ create bubbles between the paper and the wall. A smoothing tool was my best friend while installing."

"To apply the paper to the walls, I stood on a step stool where I could comfortably reach the top of the wall where the wall and moulding meet. I would unravel a roll of wallpaper and peel back the sticky part about 3-4 inches. Then I would apply the sticky side of the wallpaper to the top of the wall right where the moulding and wall meet. I peeled back the paper backing and pressed the wallpaper against the wall a few inches at a time and then would smooth over it with the blue smoothing tool to make sure all air bubbles were out. I would not advise peeling off the backing all at once- be sure to do it little by little to avoid air bubbles."

"Once I made it to the bottom of the wall, I used an Xacto Knife to cut right at the edge of the moulding. One of the most important steps to me would be to make sure when you start the next line of wallpaper to overlap about an inch with the previous one- to be sure there are no gaps at all between each column of wallpaper. I found that little trick to save me a lot of time / patience."


"The project was truly so easy and doable for just about anyone! The entire wallpaper process took me about 3 afternoons (3ish hours each) to complete. We probably could have done it all in one day if we spent a weekend on it but I took it slow and steady!"

"I have always been curious about peel and stick wallpapers and had been a little hesitant to dive in. It is safe to say I am in love with the outcome, the process couldn’t have been easier, and now I am just trying to decide which room in our house to wallpaper next!"
Thank you, Caroline, for including us in your space! We can't wait to see which room you choose to wallpaper next!


